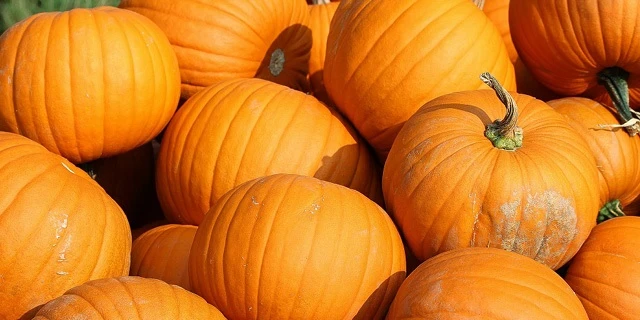
What could be spookier than your carved pumpkins themselves? The rotting and decay that quickly and inevitably follows! Carving pumpkins is a symbol of cooler temperatures, falling leaves and the approach of Halloween and other wonderful end-of-year holidays. What if you could make your carved pumpkin last a little bit longer this year?
Neighbourly can help slow the rotting process! Continue reading to discover why carved pumpkins rot in the first place, how to choose a pumpkin and how to keep it looking fresh and scary all season long.

What Makes It Rot?
Before learning how to best preserve your pumpkin, it’s helpful to know why it rots in the first place. The answer is relatively simple – when you break the skin, you’re exposing your pumpkin to the elements. Your carvings create areas of moisture that are susceptible to fungi, bacteria, and mold. In addition, oxidation and dehydration begin to take their toll the moment you cut into your pumpkin.
Your pumpkin will eventually rot – this is inevitable. The good news? Neighbourly has the tips and tricks to slow this process.
Picking Your Pumpkin
The key to making your carved pumpkins last begins with the selection of your pumpkins. Just like picking fruits and veggies at the grocery store, there’s an art to choosing the perfect pumpkin. Use these tips to strike pumpkin “gold!”
- Be sure the pumpkin’s skin is clear of blemishes – any dark spots, dings, and dents will invite pests and rotting prematurely.
- Pick up your pumpkin and feel it gently for “soft spots.” Your pumpkin shouldn’t “give” when pressed gently – if it does, you should look for a pumpkin that feels more firm.
- Choose a local pumpkin if possible. Not only is buying local a smart choice in general, but you’ll reduce the likelihood of bumps and bruises that could occur in the transportation process.
Preserving Your Pumpkin
You’ve picked the perfect pumpkin – now, it’s time to keep it that way!
- Get rid of the guts – The cleaner the inside of your pumpkin, the better!
- Start at the bottom – It’s customary to cut off the top to clean out your pumpkin, but have you ever considered cutting out the bottom? This will prevent decay from starting at the top and traveling downward.
- Clean it with bleach – Bleaching your pumpkin will kill the bacteria that cause rotting and decay. Create a mixture of one teaspoon of bleach per gallon of water. Remember to let your pumpkin dry fully before setting it outside.
- Care for the cuts – Use petroleum jelly, olive oil, or vegetable oil on the carved edges of your pumpkin to help keep them moisturized and fresh-looking.
- Give it a bath – Looking to give your pumpkin a pick-me-up? Fully submerge it in ice water for one to two hours. You can do this before you carve or after, and several times per season!
- Keep it refrigerated – If you have some extra room, keep your pumpkin in your refrigerator when it’s not on display. This is extremely helpful for those that live in warmer climates. No room in the fridge? Keep it in another cool, dark area of your home instead.
- Don’t carve it –There are plenty of alternatives to carving, like painting, glitter, and yarn (drape it on your pumpkin like a spider web and throw in a few plastic spiders!) that are sure to impress trick-or-treaters!
Cue the carving! With these tips, your pumpkins will look great all season long.
Ready to enlist a professional for all your home service needs? Learn more about our family of Neighbourly brands on Neighborly.com/ca.


 Back
Back
 1 (833) 339-1953


